Hey Wedding Vendors – it’s engagement season! 💍 Wooo!!
Engagement season means wedding fairs, open houses, and more wedding events are in full swing! Over the next few months, wedding vendors will be setting up pretty booths to showcase their work and meet potential couples. When I was actively booking weddings, I would meet HUNDREDS of potential couples at these events. Before implementing this automation, I would use a clipboard and paper to collect their information and then I would transcribe this to a spreadsheet, and then email information to each person individually. Let’s just say, this was a royal pain in the butt, and it was the last thing I wanted to do after a long day!
It’s time to ditch the clipboard and automate this process. By doing this, my potential clients received a beautifully crafted email before they even left my booth, and if they were truly interested in my services, then they could book a consultation via the link in the email! To make this happen, I am using Google Forms and Flodesk*, and connecting the two together with Zapier!
When Should I Use This Automation?
This automation is perfect when you want to collect info about potential clients and immediately email them info, but don’t want all of them in cluttering your Client Management System. For example: Wedding Fairs, Open Houses, Trade Shows, etc! When I attend one of these events, I’m talking to hundreds of potential clients, but here’s the thing – they are just shopping! These leads are freezing cold, and I don’t need them distracting me from the leads who have made it clear that they are interested in my services! That is why I use a Google Form to collect their info, not my client management system (Honeybook, Dubsado, Sprout Studio, Tave, Etc.)
So, What does this automation do?
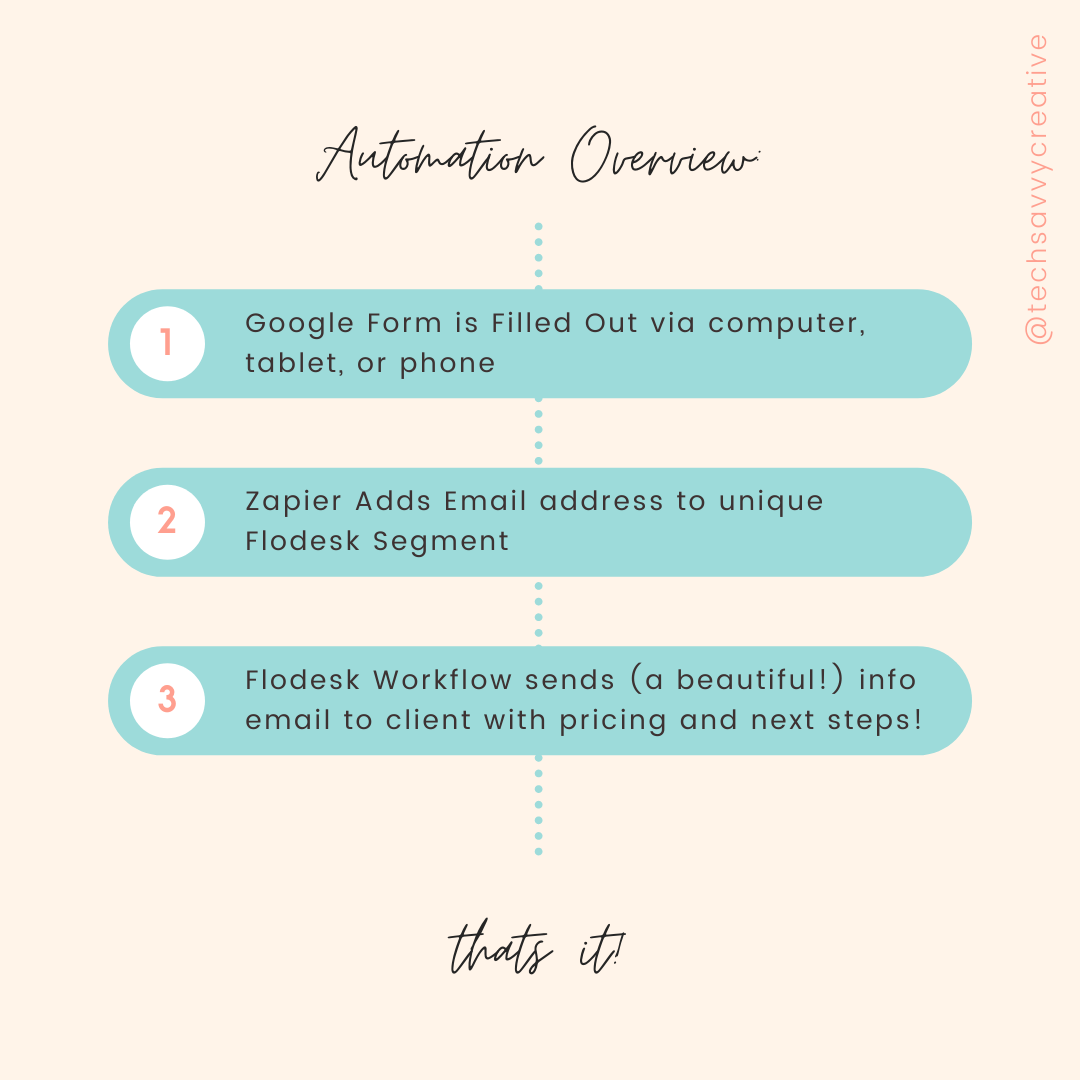
The process is pretty simple! A potential client fills out the Google Form at my booth, Zapier adds them to a unique segment in Flodesk, and then Flodesk automatically adds them to a workflow that was created just for the event!
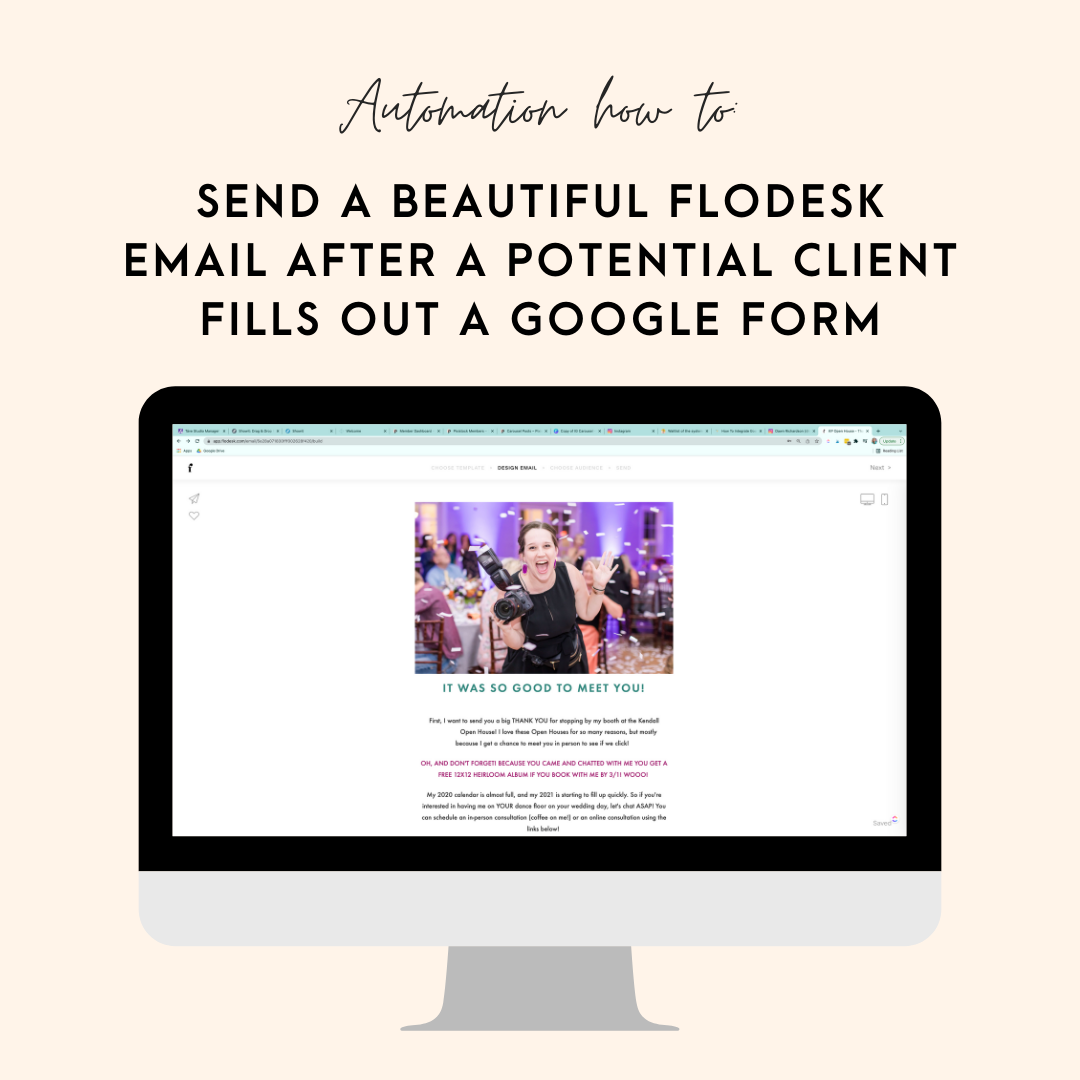
How to Send a Beautiful Flodesk Email After A Potential Client Fills Out a Google Form
Step 1: Create the Google Form
Log into your Google Drive, and Create a New Google Form. Add fields for the info that you need to collect, but do keep this short and sweet, especially if they will be filling it out at a booth! What I include: First Name, Last Name, Email Address, Potential Wedding Date, Wedding Venue
Step 2: Attach form to sheet
On the form, click “Responses” and then click the green icon to create a Google Sheet for your responses. This is an important step so Zapier knows what info to use!
Log into Flodesk, go to Audience, then Segments. You will then click “Add Segment”. Using a unique segment for this automation is important!
Step 3: Create a Flodesk segment
Log into Flodesk, go to Audience, then Segments. You will then click “Add Segment”. Using a unique segment for this automation is important!
Step 4: Create a Flodesk Workflow
Head back to your Flodesk home page and click on Workflows on the top. We will be creating a new workflow that begins when the email address is added to your new segment! Start the workflow with the trigger, “a subscriber is added to segment(s)” and then in the next step, create the email you want to send. Take advantage of this email! Include pricing info, a link to schedule a consult, etc!
Step 5: Create your Zap!
Now for the fun part! Log into Zapier and create a new zap. Follow the onscreen instructions to give Zapier access to Sheets and Flodesk! For your first step, you will select “New Spreadsheet Row in Google Sheets” and choose the new Sheet that you created from your Form.
For the second step you will choose “Create/Update Subscriber in Flodesk”, choose your new segment, and then link the First Name, Last Name and Email to the fields in Flodesk.
Step 6: Turn it On, and TEST!
Make sure your Zap, Form, and Flodesk Workflow are all turned on, and test it out! Remember: your clients are NOT your testers. You are. Test it, test it, and test it again!
Want to see a step by step walkthough instead? Check out this video on our YouTube Channel!
*Affiliate Disclaimer: Some links on this page are affiliate links. When you use these links, I receive a small commission at no cost to you. Affiliate opportunities like these help me create resources for you!
Please use each tool at your own discretion. This list is for informational purposes only.