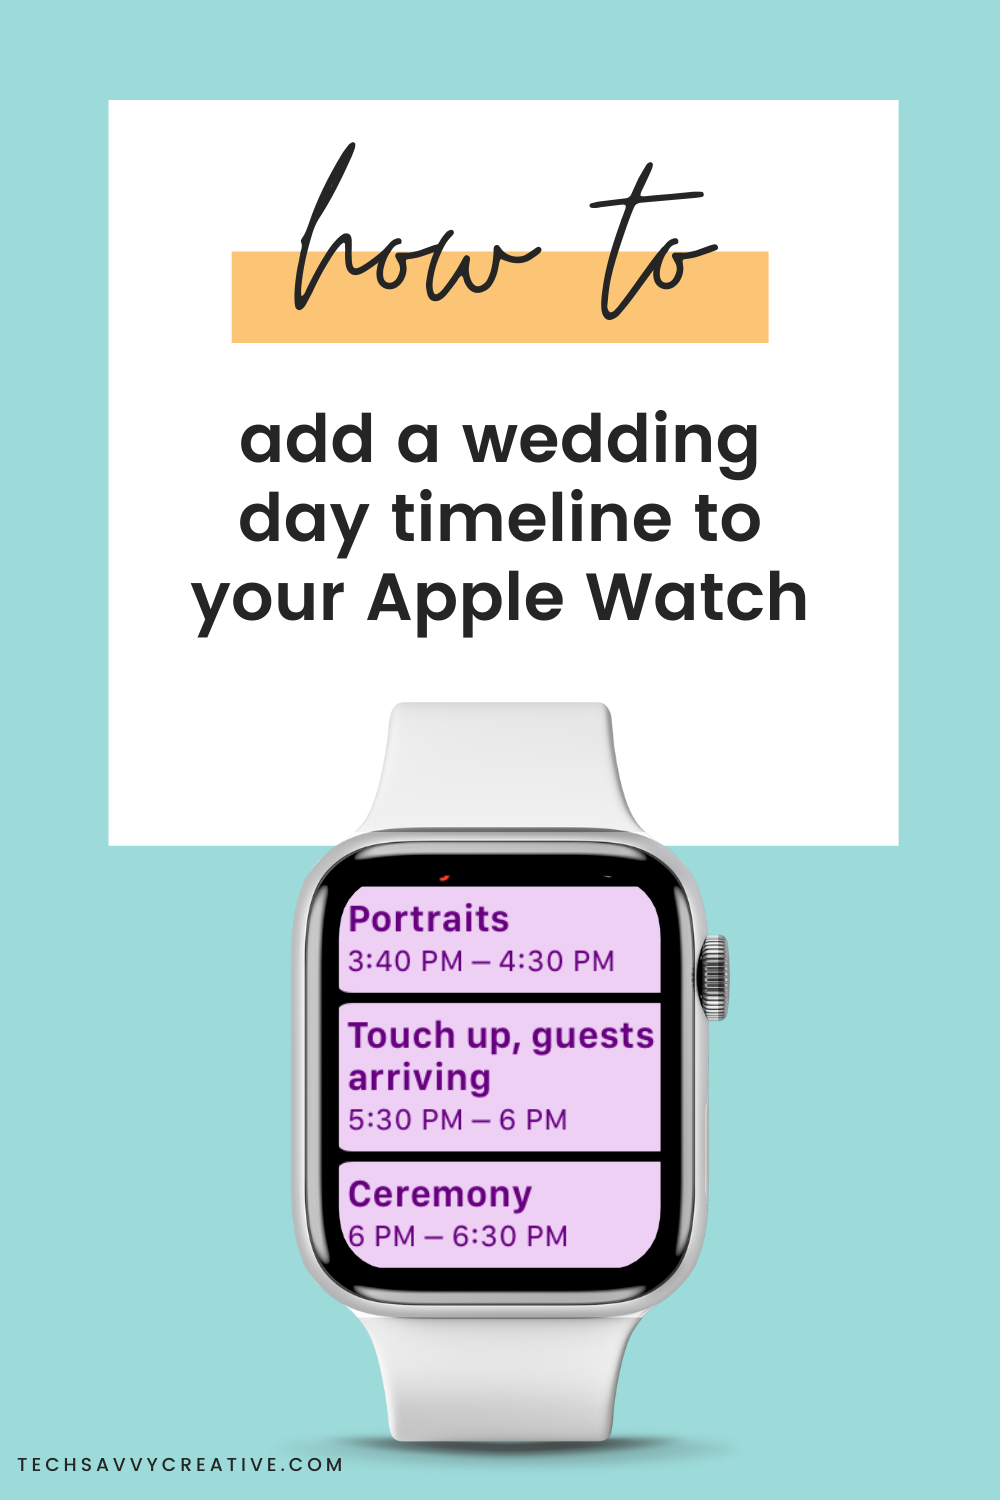
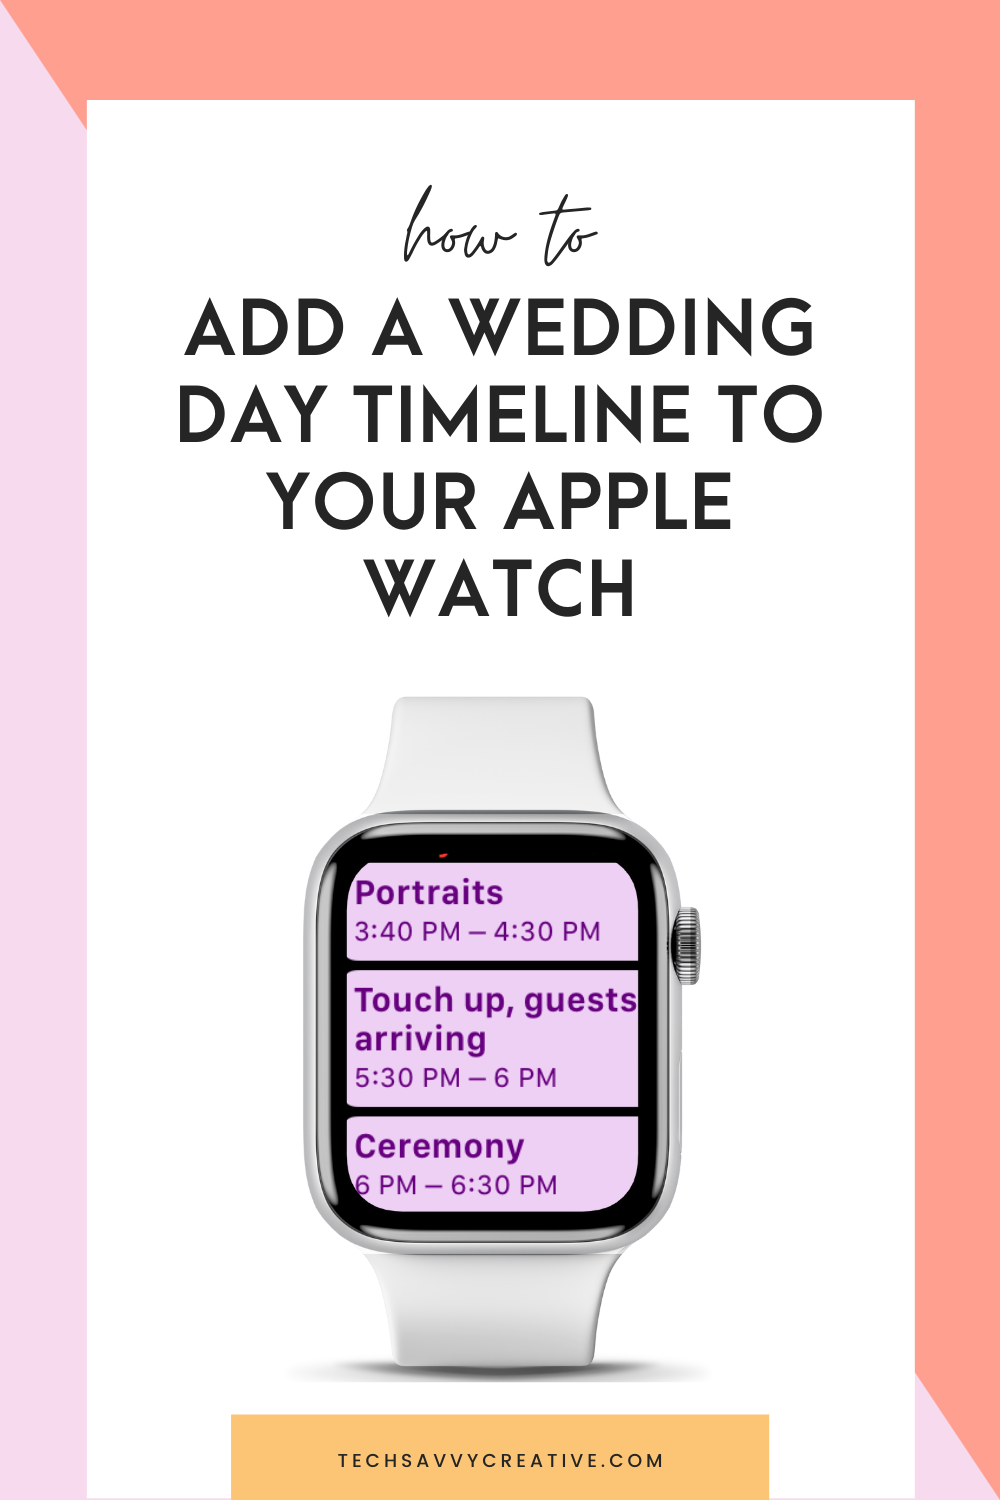
Where are my fellow wedding vendors at?! This tech tip is one of my all time favorites, and it’s definitely a must have for wedding days. Adding your wedding day timeline to your Apple Watch* is an easy way to use your tech to simplify and streamline. With a quick glance at my wrist, I can make sure we are on track and see what’s to come! Plus, it makes you look pretty legit. It is also super helpful when a guest asks when the cake will be ready to eat 😉
There are multiple ways to get your timeline on your Apple Watch*, but this method is my favorite. Not only is it easy to read, but it also allows you to easily share the timeline with your team and other vendors who have an Apple Watch!
Important note: With any device or technology, there is always a chance that something will go wrong – dead battery, software issues, physical damage, connectivity issues, etc. ALWAYS set yourself up for success by having a backup plan, and in this case, it’s a paper timeline! I always have at least one paper copy on hand just in case the unexpected does happen!
Step 1: Create a Dedicated Calendar
First, I recommend creating a new calendar called “Timelines”. By creating a dedicated calendar, you can easily hide it from your view when you are not at a wedding. This will keep your calendar clutter free, and allows for easy sharing with team members!
Step 2: Add Timeline Events to Calendar
Add each section of the wedding day as an event in your “Timelines” calendar. Set the correct time duration and even a reminder if you’d like to be notified. I recommend keeping these event names short and sweet, so you can see the full name on your watch. For example, “Father/Daughter Dance” might be shortened to “F/D Dance”.
Bonus Tip: If you are traveling between locations, add the address of the location to your event. This allows you to quickly start your GPS by opening your calendar, and tapping the address of the location!
Step 3: Set Watch to “Mirror My iPhone”
Open your Watch app on your phone, click on calendar, and make sure “Mirror My iPhone” is checked under calendars. This will make sure the calendars on your phone appear on your watch!
Step 4: Customize Your Watch Face
Next, choose a watch face and add the calendar complication. My personal favorite watch face is “Modular” or “Infographic Modular”. I then add the calendar complication to the largest section.
Next, open the settings app on your watch, click calendar, and set the view options to “List” or “Day”. This will make your timeline events easy to read on your wrist!
Step 5: View and Enjoy
That’s it! Now that your timeline is on your watch, all you have to do is glance at your wrist to see whats coming up next. To view the entire timeline, tap on the calendar complication to open and scroll!
Want to take it a step further? Share it with other Apple Watch wearing vendors! You can invite your second shooter, assistant, etc to the events by adding them as an invitee as you create them!
Do you use your Apple Watch on wedding days too? Are you going to add your timeline to your Apple Watch? Tell me about it in the comments below!
Disclaimer: This post includes affiliate links (*) and I would love if you decided to use them. Affiliate links + referrals programs help educators like me to fund the free content that we provide on our blogs.


